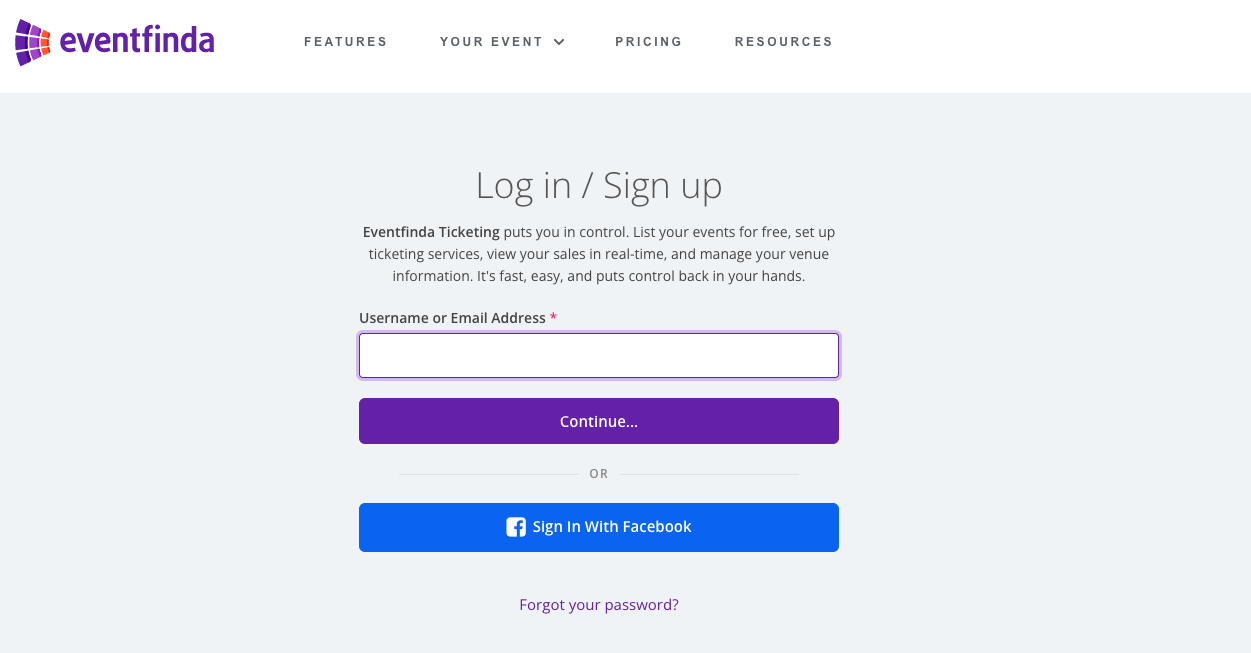
Click on the Create New Event button.
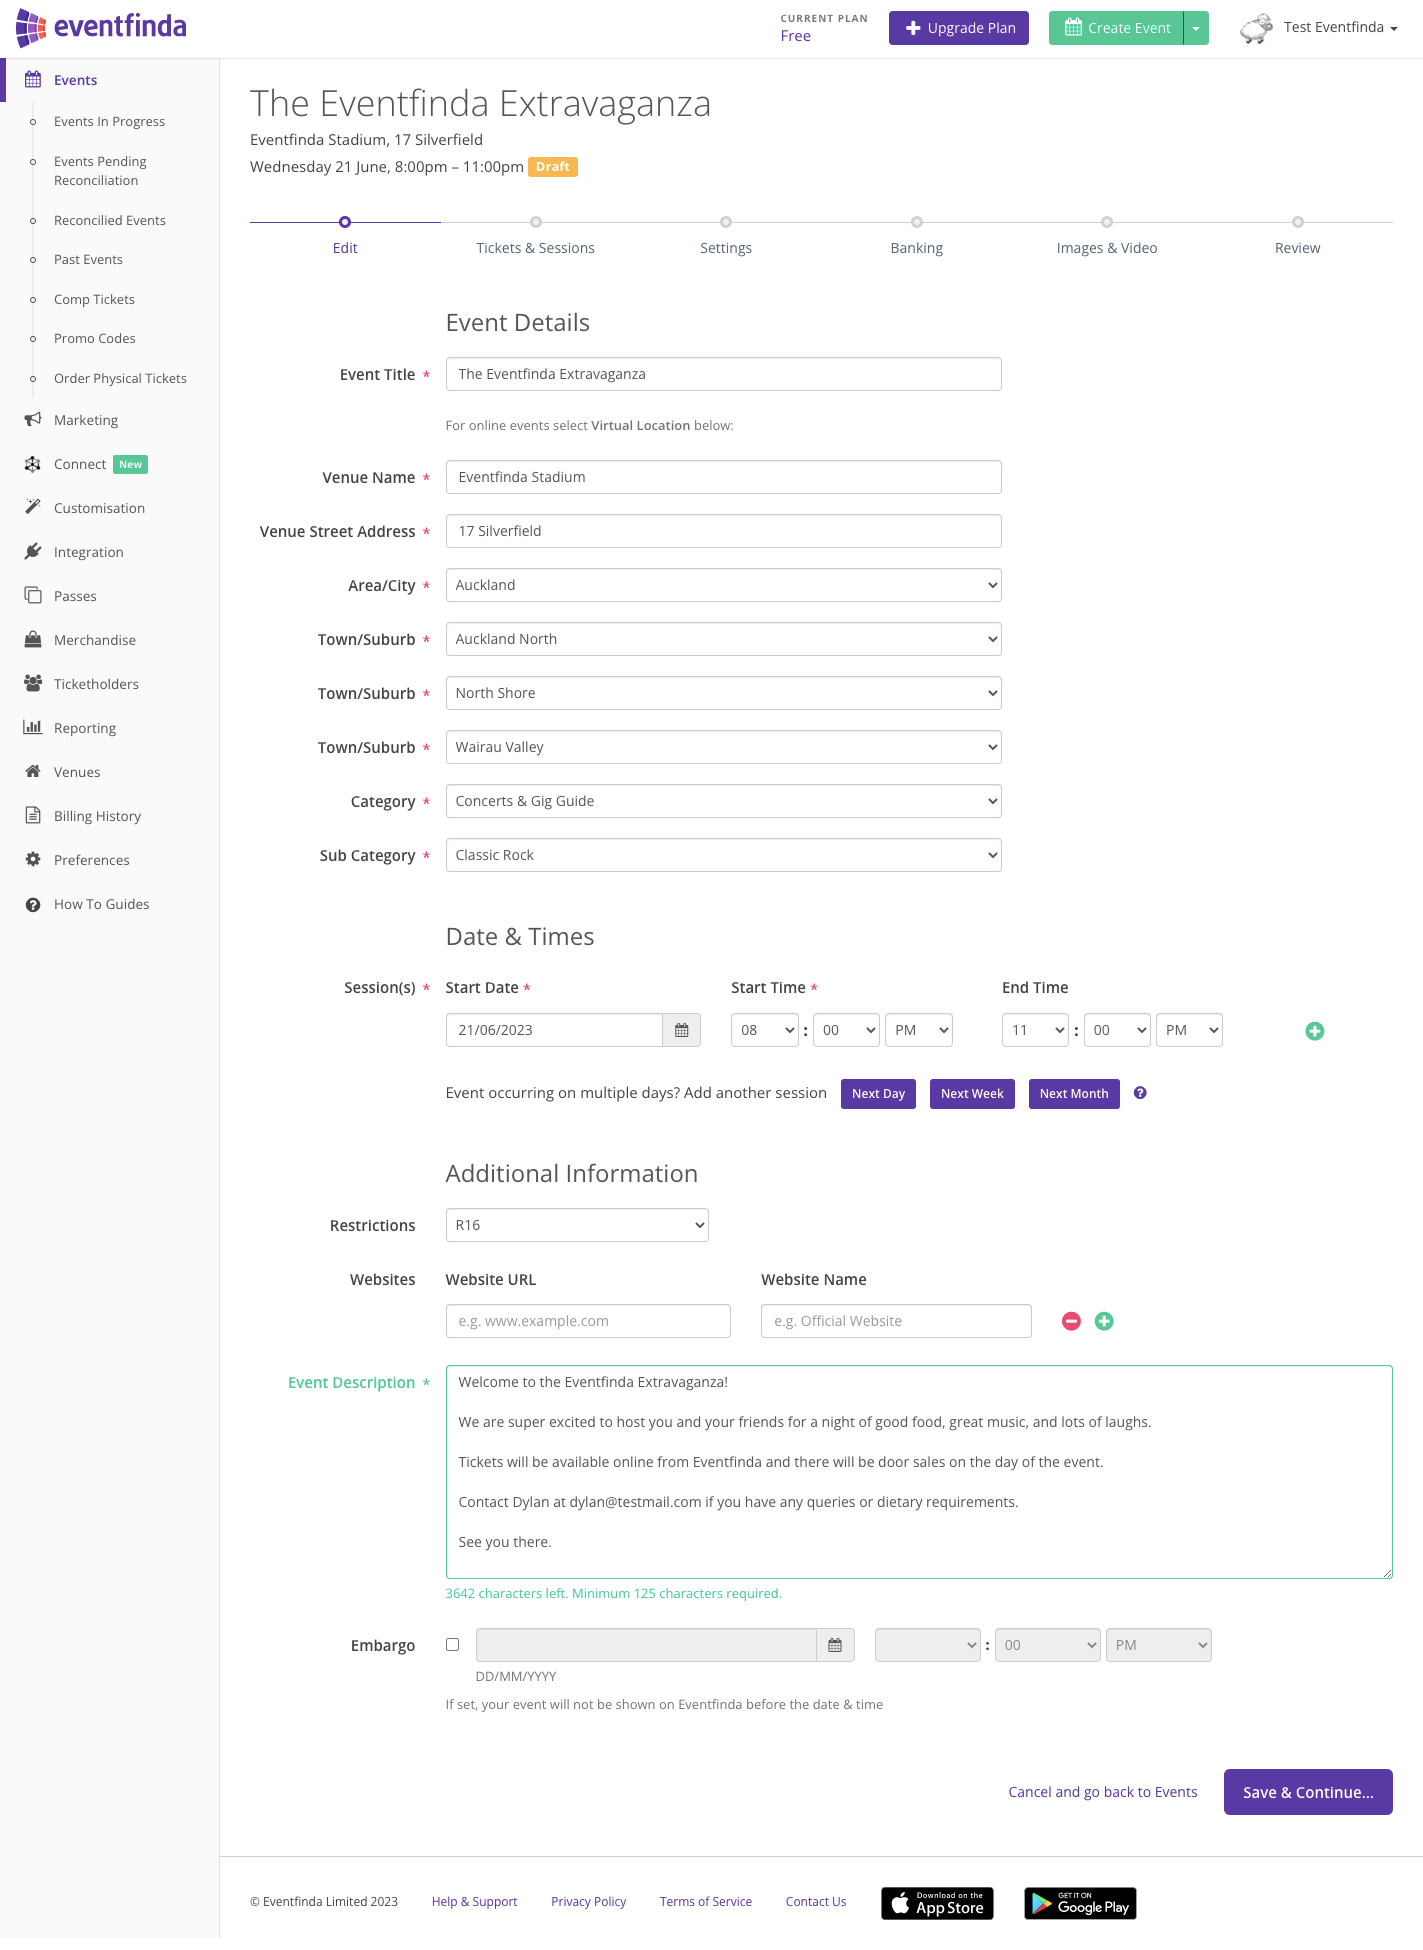
Enter your event details in the form provided including Event Title, Venue, Category and Sub-Category, Session time/s, Website/s, and a short Description.
Top tips:
-
Explain and sell your event with two to three engaging paragraphs in the description
-
A brief summary of your event
-
Event attractions
-
-
Add an end (finish) time
Do not:
-
Type in ALLCAPS
-
Use emojis
-
Overload the description with information
-
Repeat exclamation points
-
Include dates and times in the event title
If you wish to set an embargo on your event, you'll need to be subscribed to an Essential or Professional Eventfinda Connect plan. If the event is ticketed with us, you can add this later.
Click Save & Continue.
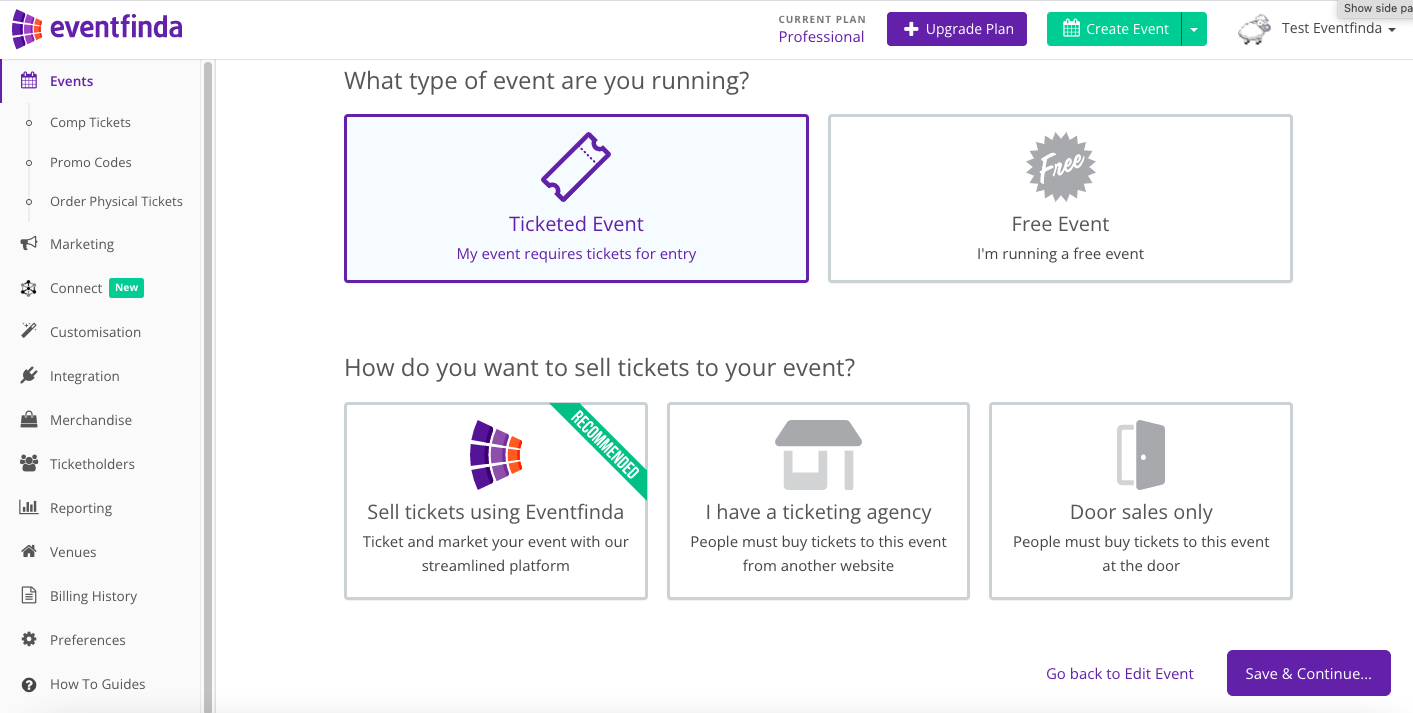
On the next page, select which type of event you are running.
You can choose whether it is free or will be ticketed.
If ticketed, choose where you’ll sell tickets; Eventfinda, a ticketing agency or door sales only.
The Eventfinda Connect plan you are on will dictate how your listing proceeds and what features you can access.
If your event is not ticketed with Eventfinda, skip to step 9.
Enter your ticket details including ticket name, capacity and price.
Top tips:
-
Set the overall capacity for the session(s)
-
Set the capacity for each ticket type created
-
Include age descriptions on Child, Concession, Senior, or similar ticket types
Do not:
-
Type in ALLCAPS
-
Use emojis
-
Repeat event name or the dates, times, venue, acts/entertainment in the ticket titles or description
If you are setting up a Family Ticket (2 adults and 2 children) or a Table of Six you would select the Multi-ticket quantity option. More detail on that here.
Click on the Save Ticket Type button.

Click edit under the session.
Please set your capacity here.
You can add an on-sale time, otherwise the session will be available to sell tickets once published.
You can set a certain off-sale time as well, otherwise it will go off-sale 1 hour prior to the session starting.
Save Session and confirm your event's session and ticketing details in the next screen.

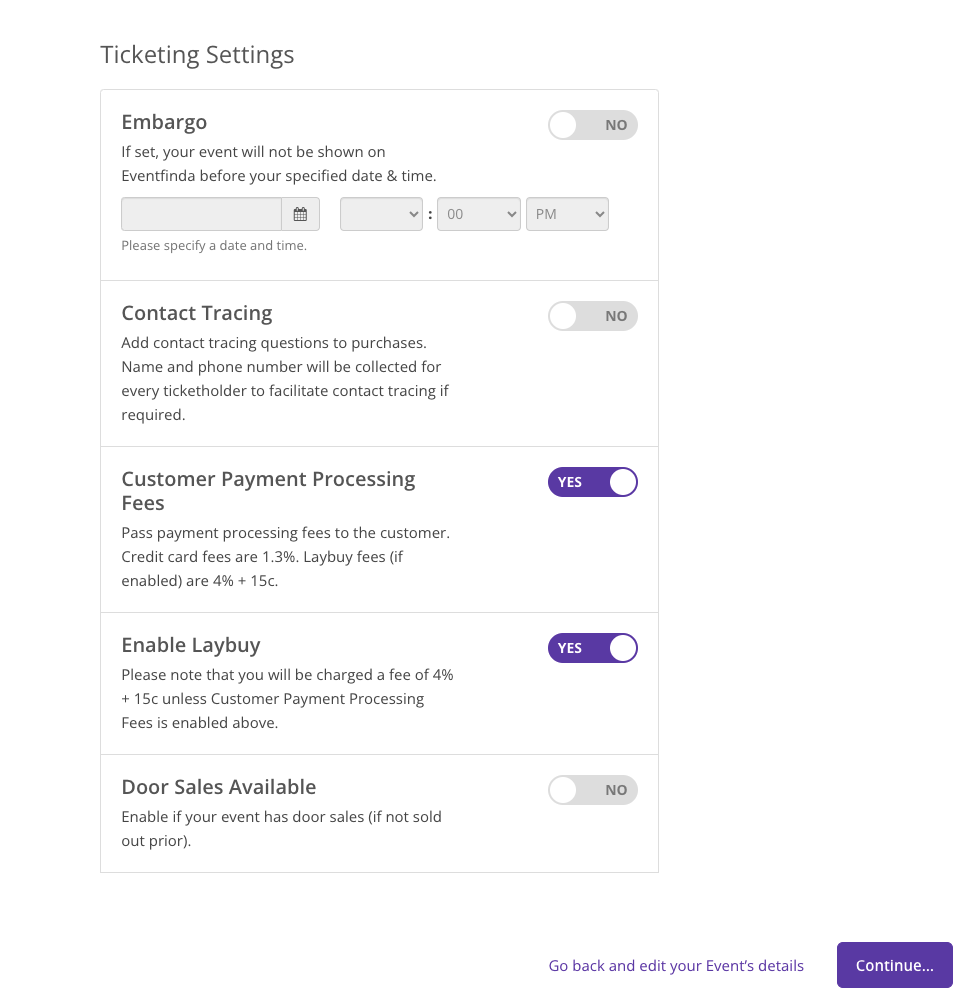
You can turn on any of the options shown to suit your event.
For example, If you're ticketing your event with Eventfinda, you can now appeal to more eventgoers by offering payment flexibility with Buy Now, Pay Later provider, Laybuy.
Click the Continue button.
Be sure to read through Eventfinda’s ticketing contract and tick the box to accept these terms and conditions.
Click the Save & Continue button.
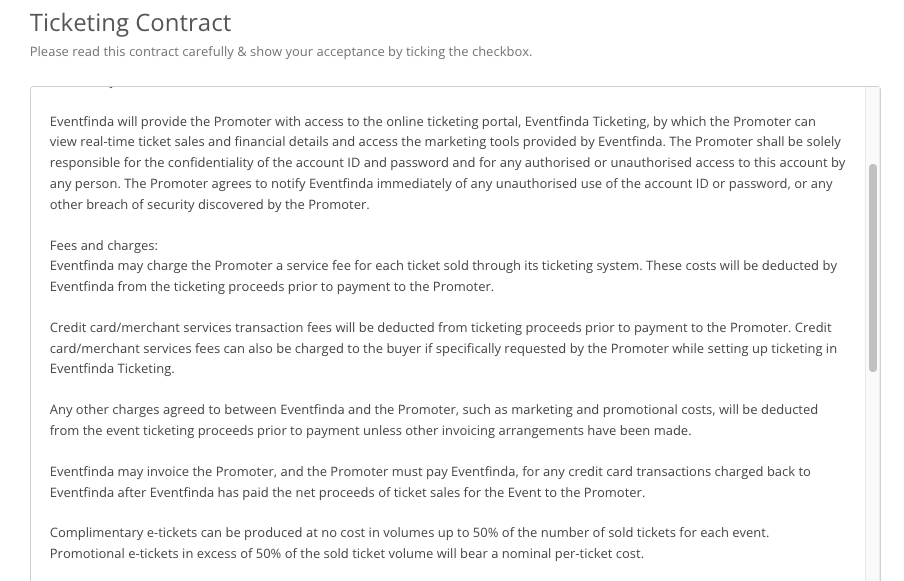
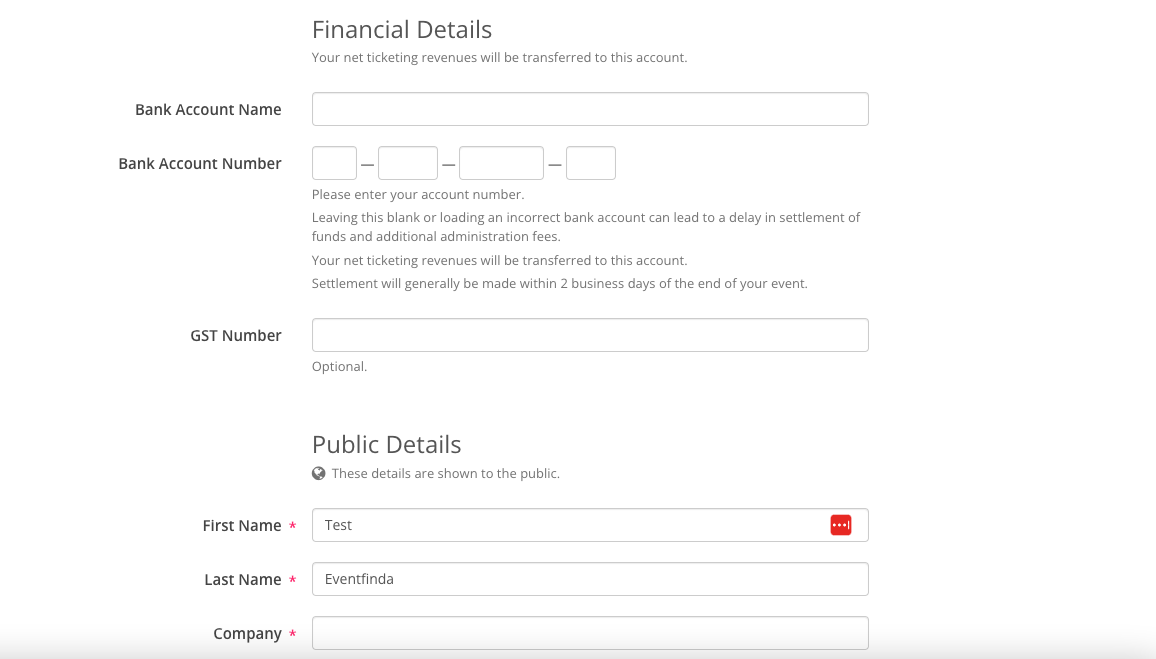
Enter your Contact and Banking details. Ensure you include your correct banking details to receive funds from ticket sales after the event.
Only your Company details are shown to the public.
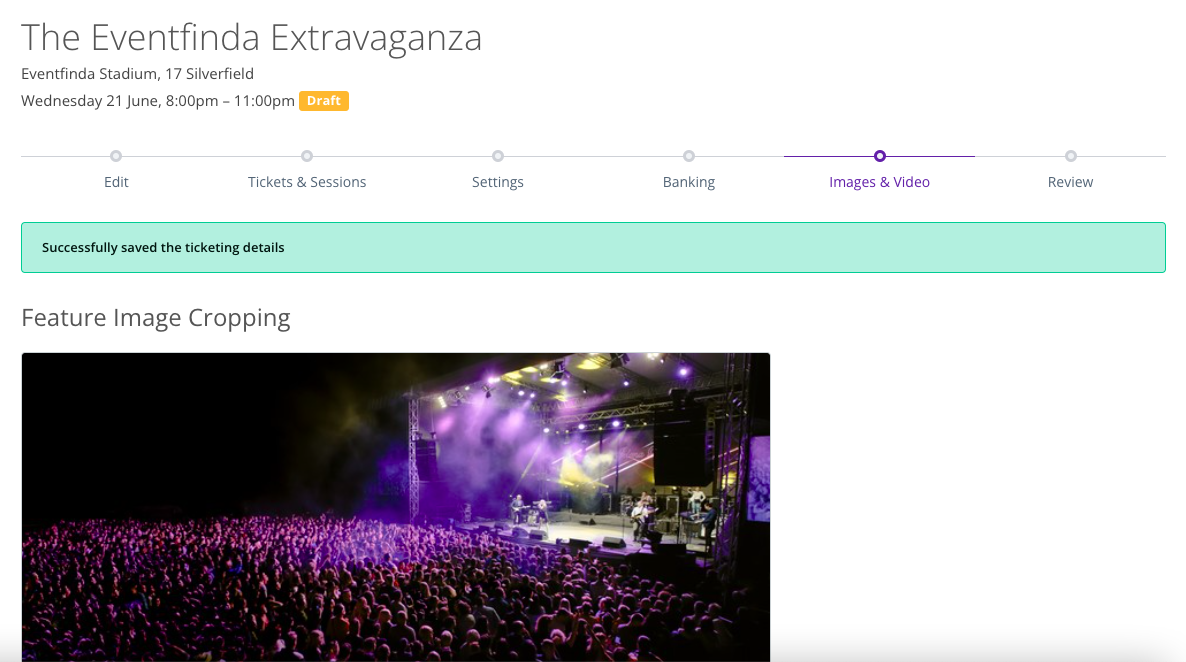
The number of images you can add or if you can upload video will depend on the Eventfinda Connect plan you are on.
Upload images from your computer. Your feature image must be sized at 1170 pixels wide by 504 pixels high, and be a .JPG, .PNG, or .GIF file type.
You can also add a YouTube or Vimeo video to your event listing. Enter the URL in the box provided.
Click the Continue button.
This is the final page to review your event as it will appear on Eventfinda’s public listing of events.
Click the Submit For Approval or you can click Save For Later.
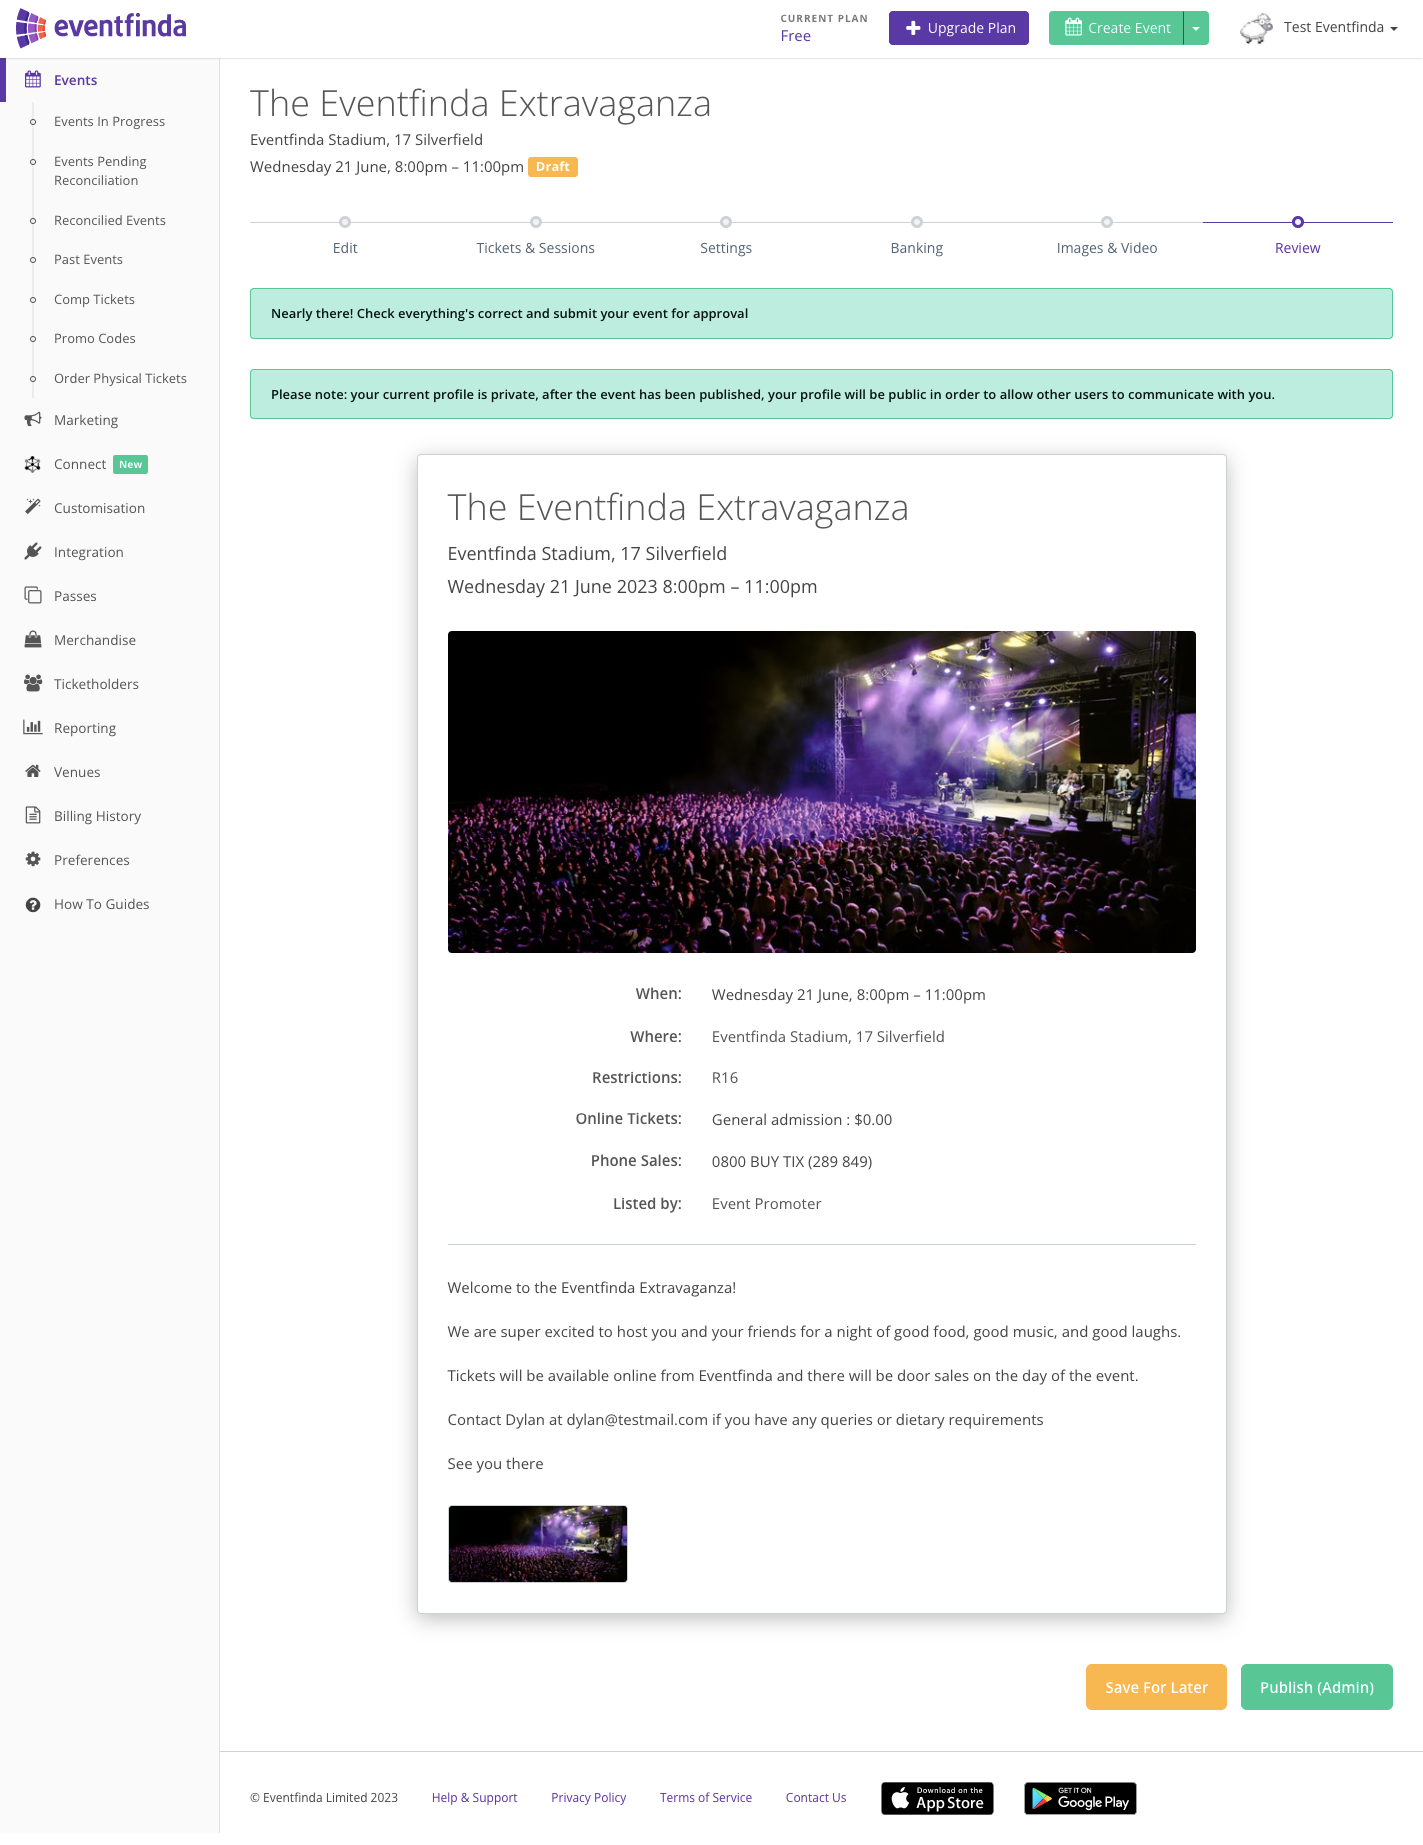
Your event has now been submitted for final approval by Eventfinda’s team of account managers.
The approval process for events ticketed with Eventfinda is 1-2 business days.
Non-ticketed event approval process is up to 3 business days.

