-
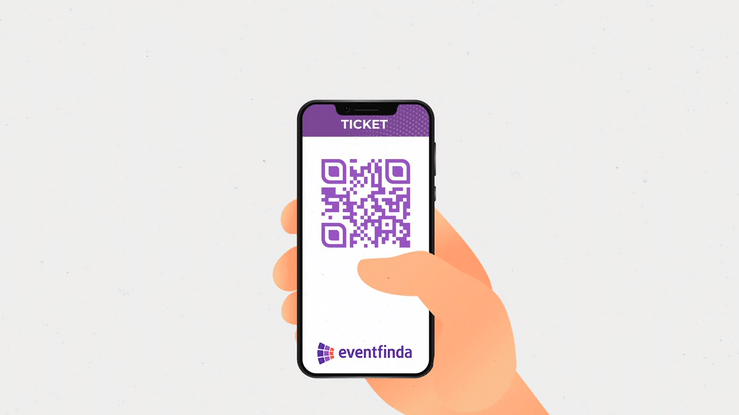
Download the Scan Tickets app to your device by clicking the appropriate link below
-
Once downloaded, set your country to New Zealand and you're ready to log in

-
From the dashboard in the Eventfinda Promoter Portal, select your event and click Manage Ticketing, then click Event Team from the dropdown
-
Enter the email addresses for any door staff you wish to have access to event data for scanning tickets using the Scan Tickets app

-
Ensure your scanners and the additional battery packs are charged
-
Ensure your device is connected to the internet, as it’s important to resync tickets before you start scanning to ensure the app is up to date
-
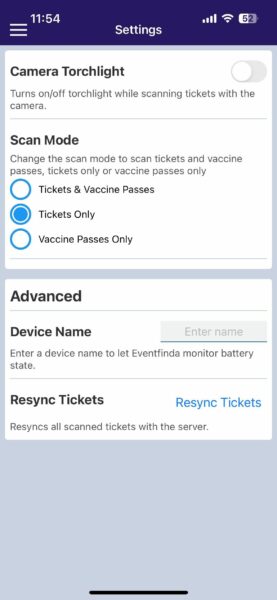
Click the three lines in the top left corner of the screen, select Settings and then Resync Tickets
-
This will download all tickets for the event to the scanner and refresh the device from the past event
-
Do this one day before the event and on the day of the event
-
If we’ve supplied you with a ticket printer, ensure it is connected and active and you have sufficient ticket stock
-
Go to the Ticketholders tab within your event, open a transaction and print out a single ticket for testing
-
Check and ensure the tickets are printing correctly
-
Destroy these tickets once the test is complete
-
Physical ticket checklist:
-
Barcode alignment
-
Print is clear and readable
-
Proper ticket orientation
-

-
Ensure that you’ve set capacity and off-sale times for your session (not on the ticket types), this is the time they will go off-sale before the start of each session
-
Click Manage Ticketing under your event in the Eventfinda Promoter Portal
-
Select Tickets & Sessions from the drop-down and click Edit on the session you want to set
-
Scroll down to Capacity by session and enter the number in the box or tick Use seating allocation
-
Scroll down again, Off–sale time is set to 1 hour prior to session by default but you can edit by specifying a particular date and time for the session to go off-sale, then click Save

-
Select the event you are preparing for from the Events page in the Eventfinda Promoter Portal
-
Go to the Advanced tab and click Door List from the drop-down menu
-
Click the Download button next to your event
-
You can view your door list in the app too by selecting your event and then clicking Door List

-
Log in to your account in the Eventfinda promoter portal
-
Check if you have access to the Eventfinda Box Office
-
Ensure you can view the upcoming event and all relevant sessions and ticket types
-
Check if there are any Venue or Promoter Holds — do you need to release these back to sale?
-
Check capacity on sessions — if sold out you will not be able to sell tickets
-
Check off-sale times on sessions/ticket types — if the event is off-sale you will be unable to sell tickets
