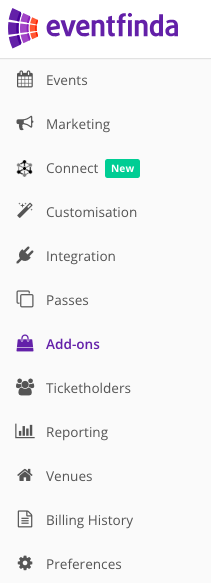
Click Add-ons from the left-hand side menu, this is where you can add in your merchandise or other items.
Your existing add-on groups will be displayed here or you can click Create Add-On Group.

You can go ahead and add your bank details or click Save & Continue and add them later.
The new add-on group will be named after your username or display name.
Click into the new group and you'll be able to create your items.

Your existing add-ons will be displayed here and can be edited or you can click Create a New Add-on Item.
From here you can add a merchandise item name, quantity available and price. Add a description of the merchandise item and pick up instructions (if required), age restrictions, on-sale and off-sale time for each item.
All events you are a promoter on will be automatically selected. Deselect any that the merchandise is not associated to.
For the screenshot in this example, the add-on is not for a specific session. If this is the setup you need, jump to Step 6.
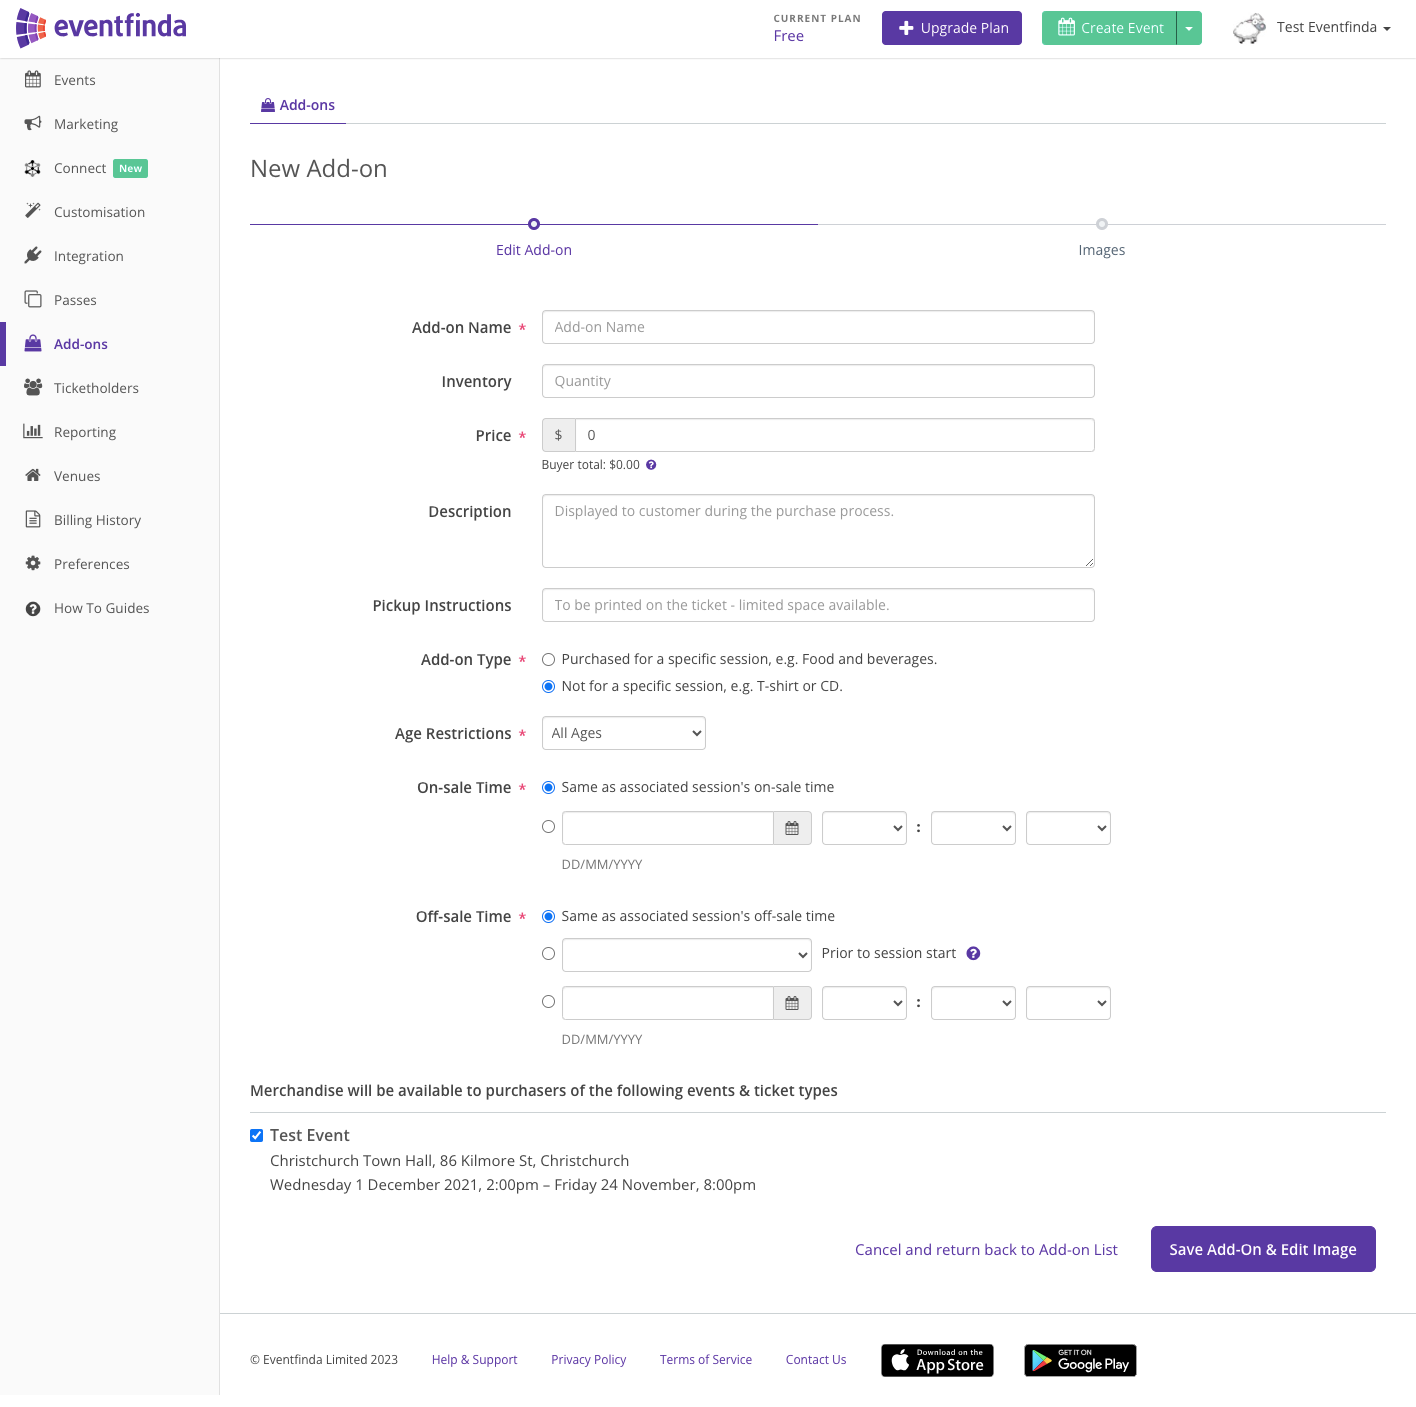
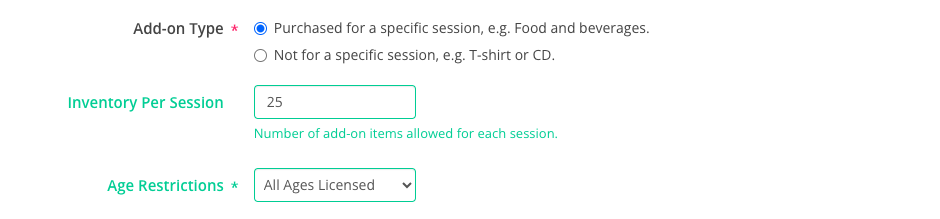
Check the box to indicate whether the Add-on type is specific to a session or not. Where specific to a session, indicate the number of items available per session.
Scroll down to select the events the Add-on type is associated with.
To select or deselect the ticket types or sessions the add-on is associated to, click the settings wheel on the right.

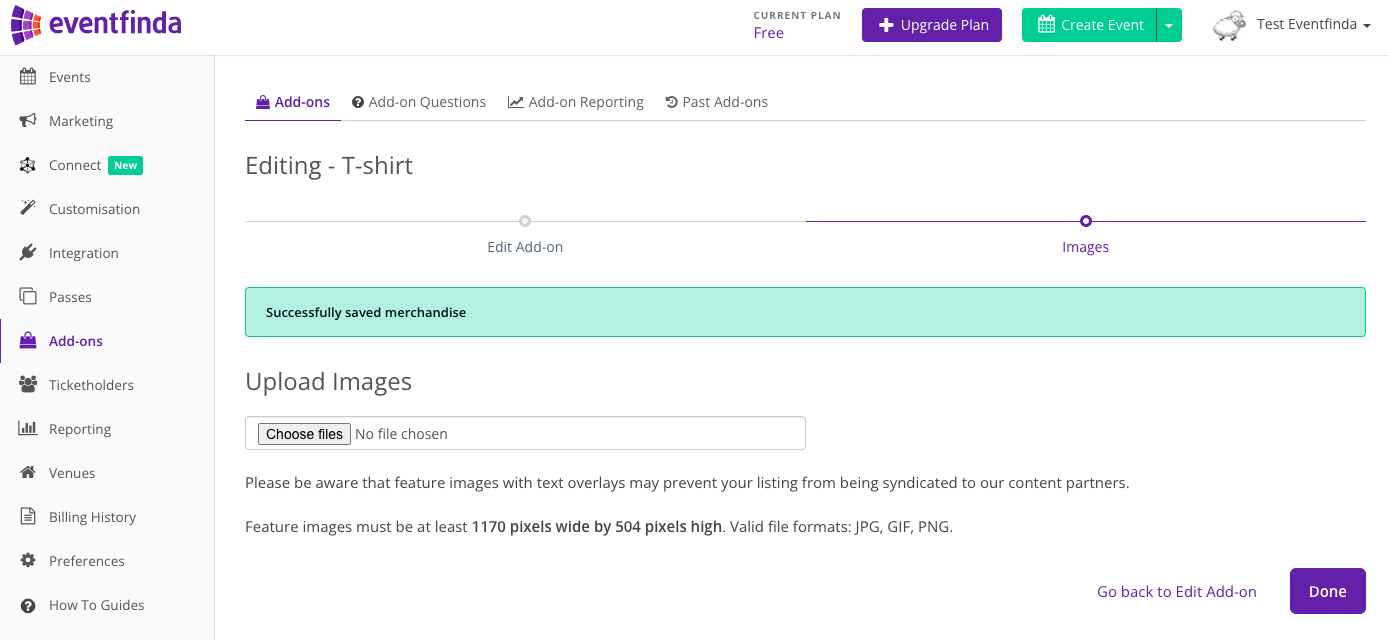
Click Save Add-on & edit image. Add an image to represent the add-on item. Once you have completed these steps, click done to publish the item
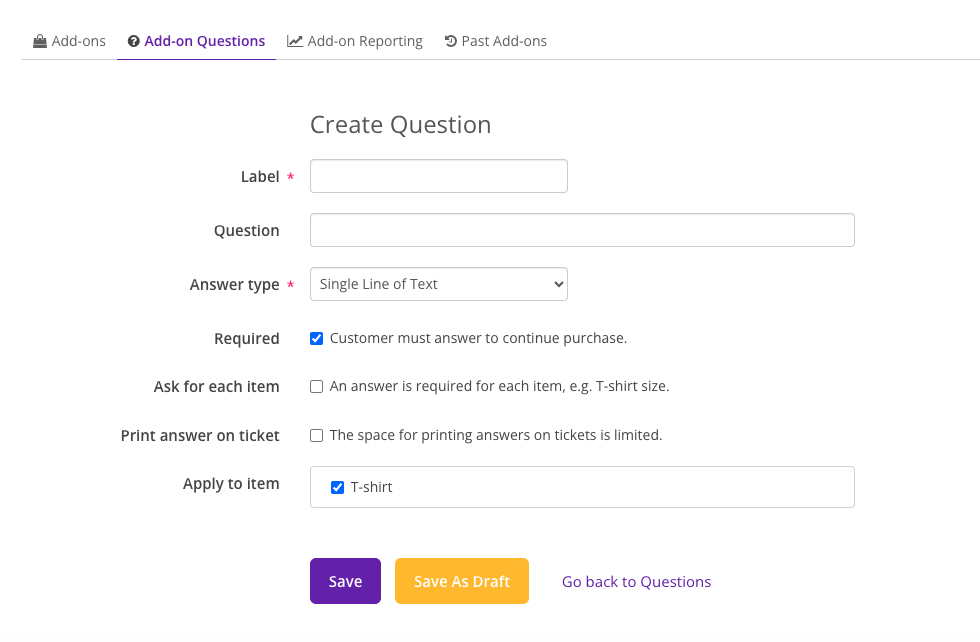
Select the Add-ons Questions tab on the top menu bar and click Create a New Question. Enter the question details as required, including the label, question, answer format, whether required to answer and if it applies per item or per transaction. Apply the question to the item.
The Add-on item is added to the purchase process for the event. After tickets are selected the ticketholder can select Add-on or proceed direct to check out.

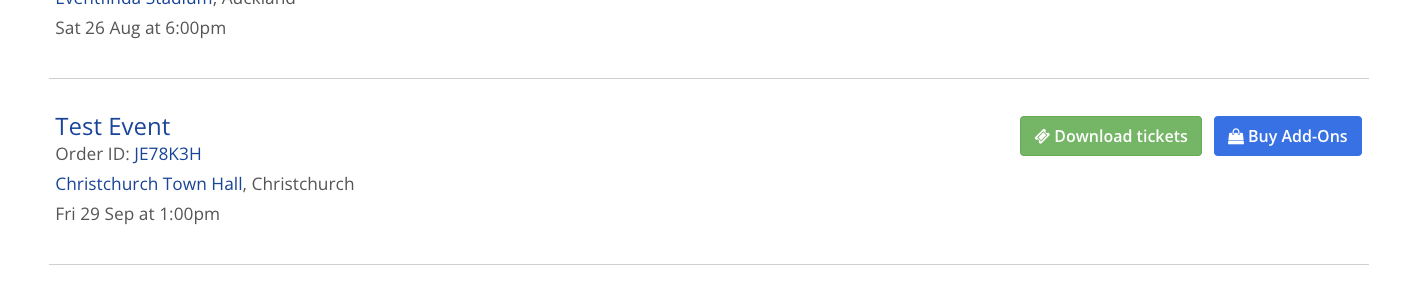
If customers have already purchased their tickets and want to choose the add-ons after, they can log in to My Eventfinda in the top right corner on eventfinda.co.nz and click 'My Tickets'. Next to the order for the event, there will be a blue Buy Add-Ons button so that they can purchase the additional items.