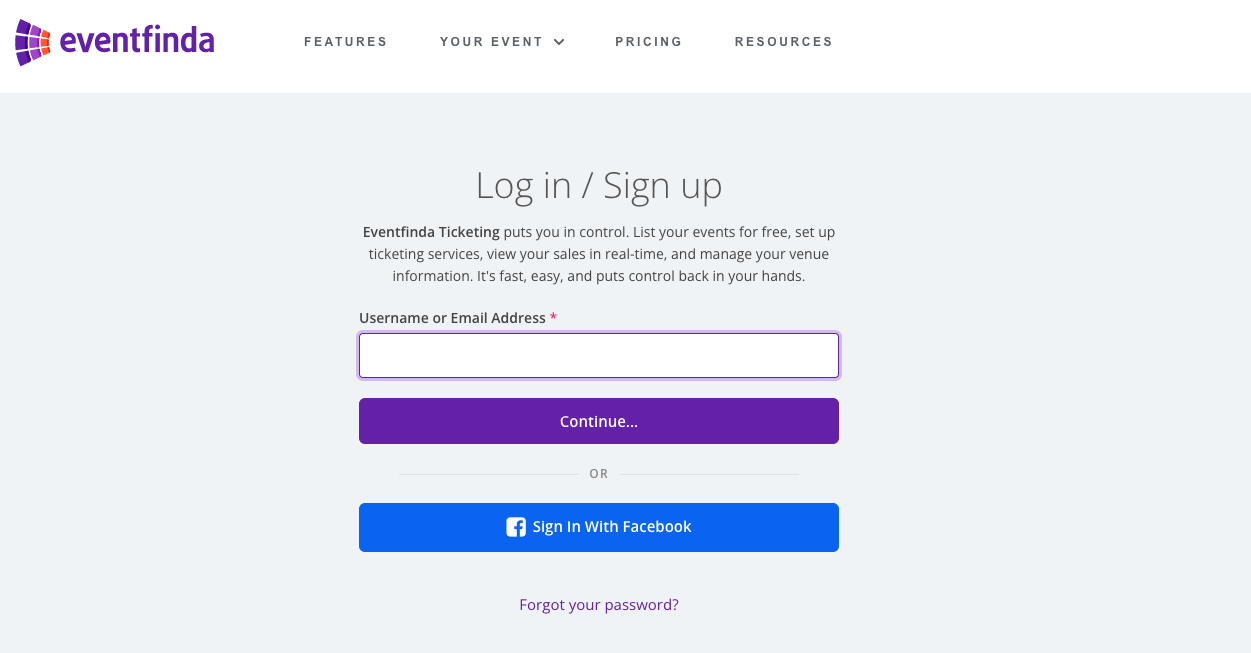
Log in to Eventfinda Promoter Portal with your account.

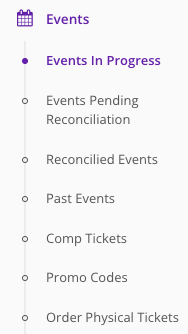
From the Dashboard, click on Events in the top left corner.

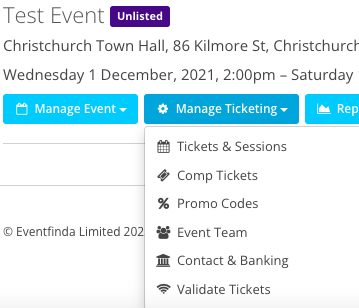
Scroll to the Event you wish to sell tickets to from your website. Click the Manage Ticketing button beneath this event.

On your event’s ticket setup page, click the Framed and Facebook button beneath the Ticket Types.

To display the ticketing frame for a single event, click on the Single Event’s Add To Facebook Page button.
If you would like your audience to select an event from a list, click on the List of Events Add To Facebook Page button.

You will then be redirected to Facebook and prompted to which of your page the event should be added.
From the drop-down menu, select the name of the page on which the Eventfinda buy tickets form should appear.

Your event’s tickets will now be available to purchase from the Tickets tab on your Facebook page.

To modify the Ticket tab -
Go to the Facebook page and click on Settings. Select Edit Page. In the tab section, you can rename or change the order in which the tabs appear.
To add a button to the page -
Go to the Facebook page and click on the Learn More button. Click on the Edit button and choose Book now. Paste the URL of your Eventfinda ticketing page in the URL field.
Go to your Facebook page. Go to PAGENAME/settings?tab=apps and remove it from there. You'll be able to add the app again the next time you have an event.
Please note: Facebook recently changed its API and is no longer allowing Pages with fewer than 2k Likes to install custom tabs like Ticketing.

